
What B&Q published
B&Q published its “How to install a water butt” advice on 27 May 2026. The page is a practical installation sequence: position the butt, make the diverter opening if needed, mark and cut the downpipe, then fit the diverter and feeder hose.
1. Start with a stable base
Attach the tap and other fittings according to the manufacturer’s instructions. Put the butt on its stand close to the downpipe, on level and stable ground. B&Q warns that a full butt becomes very heavy, so this check comes before any cutting.
2. Match the diverter before drilling
If the butt is not pre-drilled, use a holesaw and follow the butt and diverter instructions for the hole size and position. Do not guess the dimensions: the fittings supplied with the setup determine where the opening belongs.
3. Align, cut and fit
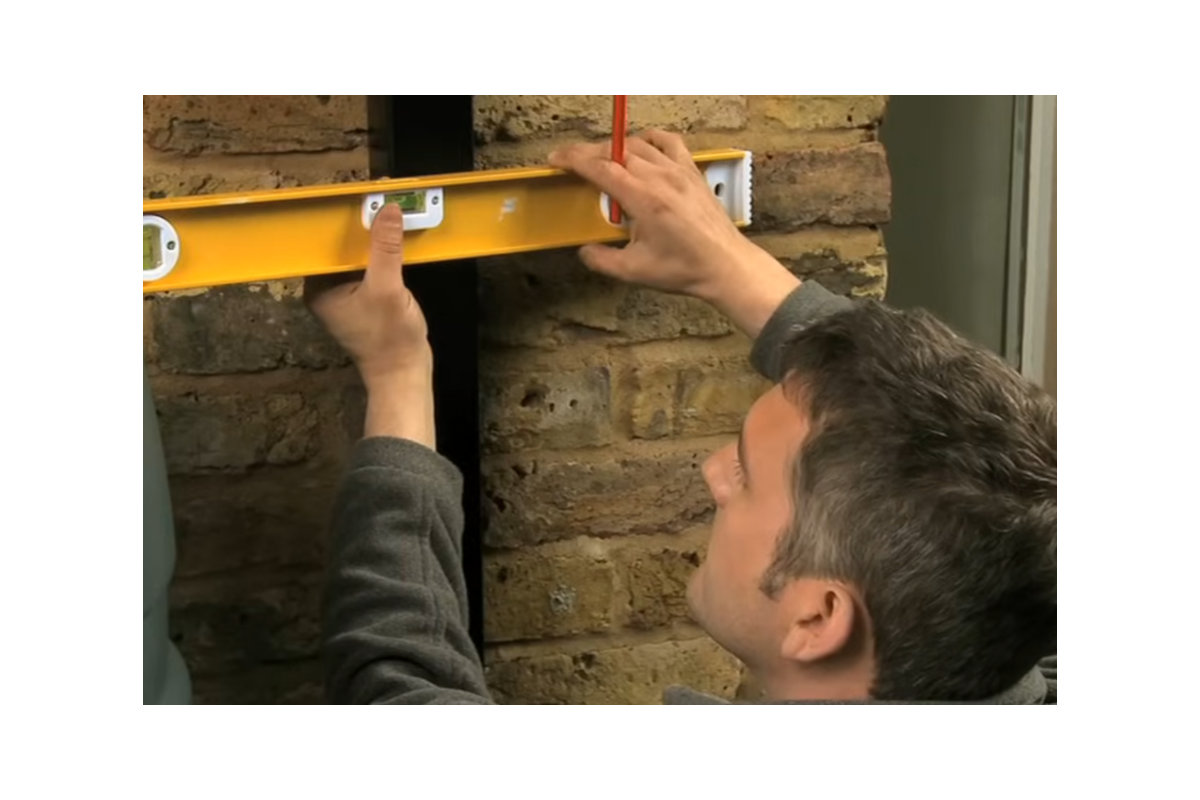
Hold a spirit level between the diverter opening and the downpipe, mark the diverter’s top and bottom positions, then cut the marked section with a suitable hacksaw. Wear gloves and protective eyewear while cutting. Fit the seals and diverter as instructed, then connect the feeder hose without kinks or twists.
4. Check the first fill
Before leaving the installation, check that the hose is secure and that water can reach the butt without leaking at the fittings. Keep the gutter clear: B&Q says this reduces leaves and moss entering the butt.
5. Plan the maintenance
Empty and clean the butt once or twice a year to limit dirt and sediment. If more capacity is needed, B&Q says connector kits can join two butts. Keep the installation instructions with the setup so future cleaning or replacement uses the correct parts.